
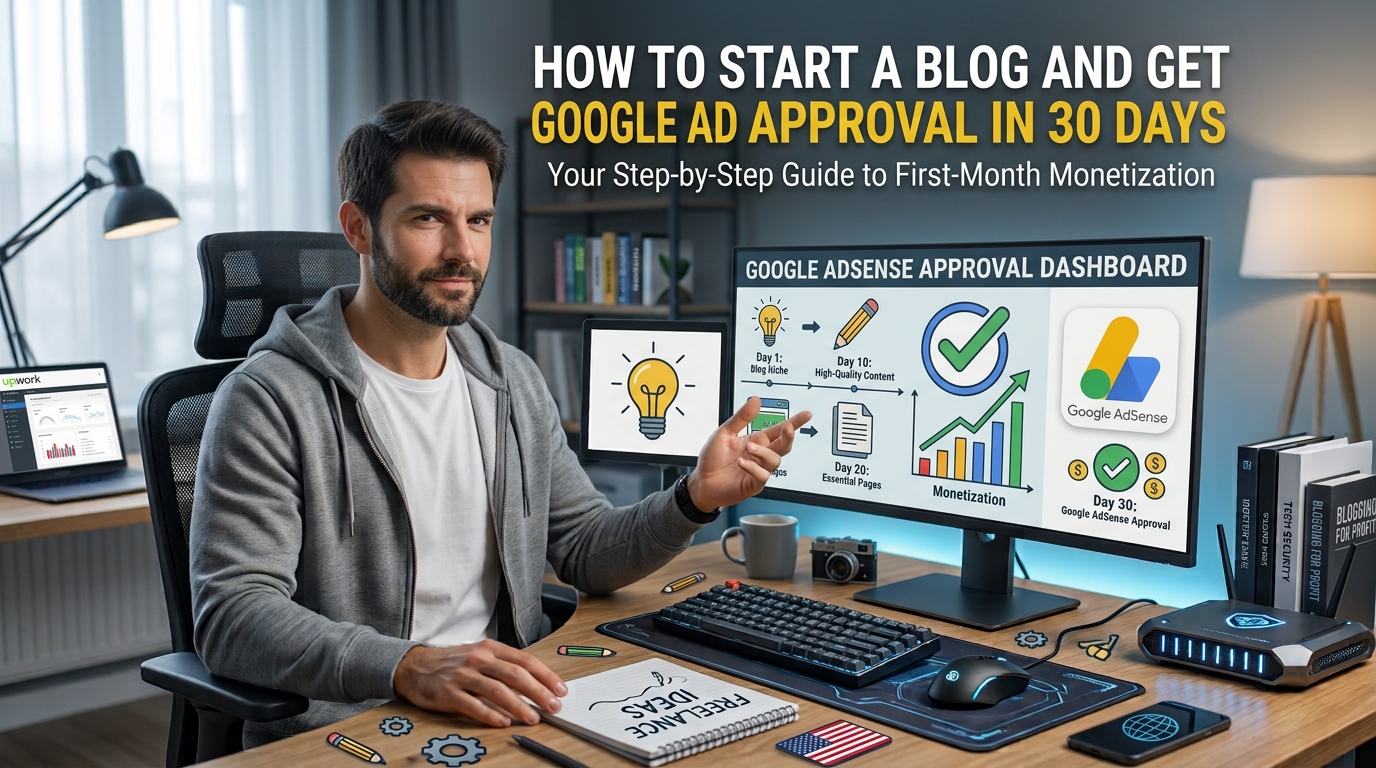
The dream of making passive income online often starts with a single question: “How do I get Google AdSense approval?” In my experience, most beginners fail not because they lack technical skills, but because they treat their blog as a “money machine” rather than a resource for readers. Google’s algorithms, specifically the Helpful Content System, are designed to filter out sites that exist solely to serve ads.
If you want to move from “Low Value Content” rejections to an “Approved” status, you must prove to Google that your site provides genuine human value. Over the years, I have helped dozens of creators restructure their sites to meet these standards. This 30-day roadmap is the exact framework I use to transform a blank domain into an AdSense-ready powerhouse.
Phase 1: The Foundation (Days 1–5)
Before you write a single word, your site must feel professional. A messy, confusing website signals to Google that you aren’t serious about user experience.
Pick a Focused, High-Interest Niche
Avoid “lifestyle” or “general” blogs where you write about everything from travel to cooking. Google prefers “Topical Authority.” If you focus on a specific niche—like Indoor Plant Care, Budget Home Office Setups, or Beginner Python Tutorials—Google sees you as a subject matter expert.
The Technical Setup Checklist
-
Self-Hosted WordPress: Use WordPress.org, not .com. It gives you full ownership of your data and customization.
-
Reliable Hosting: Choose a reputable host like SiteGround or Hostinger. Slow loading times will hurt your SEO rankings.
-
Clean Theme: Install a lightweight, fast-loading theme like Astra, GeneratePress, or OceanWP. Avoid heavy, “all-in-one” themes that clutter your site.
The “Mandatory” Pages
AdSense reviewers check for transparency. Your site will be rejected immediately if you lack these pages:
-
About Page: Tell your story. Why are you qualified to teach this? Include a real photo of yourself to build E-E-A-T.
-
Contact Page: Include a simple form or a professional email address.
-
Privacy Policy & Disclaimer: Use a generator like Privacypolicies.com to create these legally required documents.
Phase 2: Content Strategy (Days 6–20)
This is where most people get “Low Value Content” errors. Google isn’t looking for word count; they are looking for original insights, personal experience, and clear formatting.
The “20-Article” Benchmark
Aim to have at least 20 high-quality, long-form posts published before you apply. Each post should be between 800 and 1,500 words. Consistency signals that your site is active and maintained.
Demonstrating E-E-A-T
Google’s E-E-A-T (Experience, Expertise, Authoritativeness, Trustworthiness) is the secret to approval:
-
Experience: Use first-person language (“I tried this method and found that…”). Real-world examples are impossible for AI to fake effectively.
-
Expertise: Answer the user’s question immediately in the first paragraph. Don’t bury the lead.
-
Original Imagery: Take your own photos. Even smartphone shots of you performing a task or testing a product provide unique value that stock photos cannot.
Structure for Humans
Use an SEO-friendly hierarchy:
-
H1 Title: Clear, catchy, and includes your primary keyword.
-
H2 Headings: Used for main sub-topics.
-
H3 Headings: Used for detailed steps within those topics.
-
Bullet Points: Use these to break up dense paragraphs.
Phase 3: SEO and Technical Readiness (Days 21–25)
A beautiful blog is useless if Google can’t find it. You need to ensure your site is indexed and technically sound.
Connect to Google Search Console
If you aren’t in Search Console, you don’t exist to Google.
-
Submit your sitemap (usually
[yourdomain.com/sitemap_index.xml](https://yourdomain.com/sitemap_index.xml)). -
Check for “Index Coverage” errors.
-
Request indexing for every new post you publish.
Internal Linking Strategy
Create “topic clusters.” If you write an article about Best Office Chairs, link it to your other article about How to Improve Posture. Internal links help Google understand the relationship between your pages and keep users clicking deeper into your site.
Perform a “Clean Up”
-
Remove Broken Links: Use a free plugin like Broken Link Checker to ensure all links work.
-
Delete “Coming Soon” Pages: Every link in your menu must lead to a fully functional article.
-
Remove Affiliate Clutter: If you are using Amazon Associates, keep links helpful. Do not fill a post with 50 affiliate links; it looks like “spam” to human reviewers.
Phase 4: Applying to AdSense (Days 26–30)
Now that your site is indexed and content-rich, you are ready to apply.
The Final Audit
Before clicking “Apply,” conduct this quick review:
-
Check for Copyrighted Content: Do not use images from Google Images. Use your own, or use sites like Unsplash or Pexels (and credit them if required).
-
Verify Loading Speed: Run your site through Google PageSpeed Insights. If it scores below 70, optimize your images or switch to a faster plugin.
-
Check Traffic: While there is no “minimum traffic” number, having a few daily visitors from social media or search results helps. It proves your site is real and functioning.
Submitting the Request
-
Log into your Google AdSense dashboard.
-
Enter your URL and generate the AdSense code snippet.
-
Paste the snippet into the
<head>section of your WordPress site (using a plugin like Insert Headers and Footers). -
Click “Request Review.”
What if You Get Rejected?
Do not panic. AdSense will send an email specifying the violation.
-
“Low Value Content”: Add 5 more articles with deeper personal insights and better images.
-
“Policy Violations”: Check for prohibited content like adult material, illegal downloads, or overly aggressive ads.
-
“Site Not Ready”: Ensure your site navigation is simple and all essential pages are live.
Summary Checklist for Approval
| Task | Goal | Status |
| Custom Domain (.com) | Establish brand authority | [ ] |
| 20+ High-Quality Articles | Prove topic depth | [ ] |
| Essential Legal Pages | Adhere to Google Policies | [ ] |
| Google Search Console | Confirm site indexing | [ ] |
| No Copyrighted Media | Avoid policy strikes | [ ] |
Frequently Asked Questions (FAQs)
Does my site need 10,000 views to get approved?
No. Google values quality over quantity. I have seen sites approved with fewer than 50 daily visitors because the content was exceptionally helpful and original. Focus on answering user questions perfectly rather than chasing vanity metrics.
Can I use AI tools like ChatGPT to write my content?
You can use AI for brainstorming, outlining, or grammar checking. However, never copy-paste raw AI text. Google’s systems are trained to identify generic, repetitive AI content. Always edit the text to include your own voice, personal anecdotes, and specific examples.
How long does the AdSense review take?
It typically takes between 2 days and 2 weeks. If you haven’t heard back after 14 days, double-check that your AdSense code is correctly installed in the <head> section of your website.
Should I remove affiliate links before applying?
It is not strictly required, but it is highly recommended. If a site is nothing but “Best X for Y” affiliate lists, it will be flagged as “thin content.” Balance your affiliate posts with high-value “How-to” guides that don’t try to sell anything.
Can I re-apply if I get rejected?
Yes! Most successful bloggers are rejected at least once. Read the rejection feedback, fix the specific issues mentioned, improve your content depth, and apply again. Persistence is the final piece of the puzzle.