
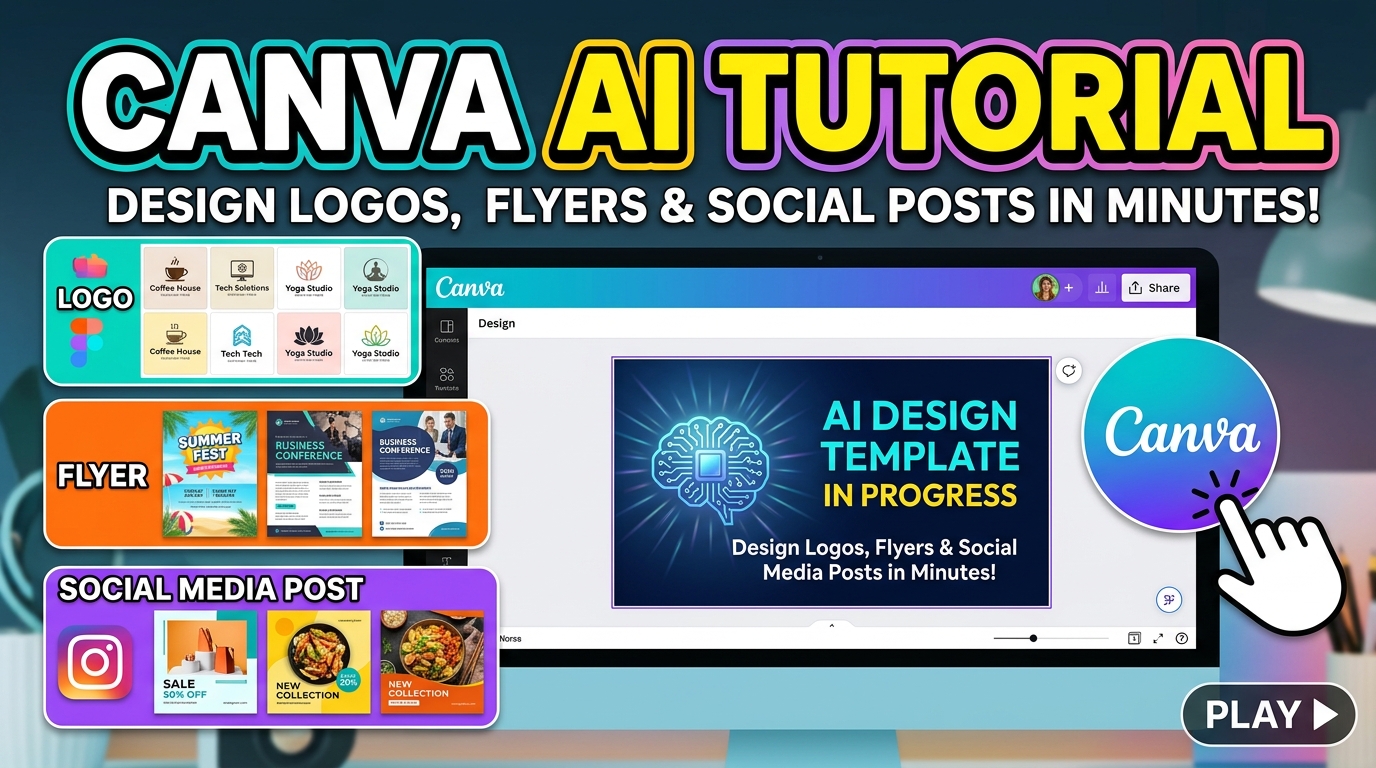
In today’s fast-paced digital world, visual content is key to capturing attention online. Whether you are running a business, managing a blog, or building a personal brand, high-quality graphics are essential. Fortunately, you don’t need years of graphic design experience or expensive software to create eye-catching visuals.
With Canva’s suite of artificial intelligence (AI) tools, you can generate professional logos, promotional flyers, and engaging social media posts in just a few minutes. Here is a step-by-step guide on how to leverage Canva AI to streamline your design workflow.
1. Getting Started with Canva AI
Canva has integrated AI across its platform under the umbrella of Magic Studio. These AI-powered capabilities allow you to transform plain text prompts into full designs, images, documents, and videos.
Key Tools You Will Use:
-
Magic Design: Generates customized design templates based on your text description or uploaded assets.
-
Magic Media (Text-to-Image / Text-to-Graphic): Turns written prompts into unique images, illustrations, or icon elements.
-
Magic Write: An AI copywriter that helps draft headlines, captions, and body text directly inside your project.
2. How to Design a Logo with Canva AI
A strong logo establishes your brand identity. Canva AI helps you brainstorm and generate customized concepts effortlessly.
Step 1: Define Your Brand Concept
Open Canva and search for “Logo” in the search bar to launch a blank logo canvas. Alternatively, use Magic Design directly from the homepage search bar by typing a prompt like:
“Modern minimal logo for a tech blog named Promptlix”
Step 2: Use Magic Media for Custom Icons
If you want a unique brand mark or icon:
-
Navigate to the Apps tab on the left sidebar.
-
Select Magic Media.
-
Type a descriptive prompt under the Images or Graphics tab (e.g., “Abstract geometric shape representing connectivity, vector art, flat design, white background”).
-
Select your preferred style (e.g., Minimalist, 3D, Vector) and click Generate.
Step 3: Refine Typography and Colors
-
Combine your generated icon with text elements for your brand name and slogan.
-
Go to the Brand tab or Styles section to apply color palettes that suit your tone (e.g., trustworthy blues, energetic oranges, or elegant dark tones).
-
Ensure the design is centered and easy to read at small sizes.
3. How to Create an Eye-Catching Flyer in Minutes
Flyers are ideal for promoting events, product launches, or business services. Canva’s AI tools allow you to construct a complete layout with matched copy instantly.
Step 1: Use Magic Design for Layouts
-
Type a detailed prompt into the main Canva search box, such as:
“Promotional flyer for a summer web design workshop with modern blue accents”
-
Click Magic Design results to view custom, pre-populated layout options. Select the layout that best fits your visual style.
Step 2: Generate Copy with Magic Write
Don’t worry about writer’s block when drafting flyer text:
-
Click on any text box inside your flyer layout.
-
Select the Magic Write icon (represented by sparkles).
-
Enter a prompt like: “Write 3 punchy bullet points highlighting the benefits of attending a hands-on web design masterclass.”
-
Insert the generated copy directly into your layout.
Step 3: Swap and Enhance Images
-
If you need custom promotional photos, open Magic Media and generate images tailored to your event (e.g., “Creative team collaborating around a laptop in a bright modern office, professional lighting”).
-
Drag and drop the generated image into your flyer frame.
-
Use Magic Edit or Background Remover under Edit Image if you need to isolate objects or tweak background elements.
4. How to Create Engaging Social Media Posts
Social media platforms require consistent, high-frequency posting. Using AI helps maintain quality while saving valuable time.
Step 1: Choose Your Format
Select your target format from the Canva homepage (e.g., Instagram Post (Square), Facebook Post, or LinkedIn Graphic).
Step 2: Batch Create Content
-
Generate Images: Use Magic Media to create striking feature backgrounds or graphics tailored to your post topic.
-
Draft Social Captions: Use Magic Write to generate engaging post captions, hashtags, and call-to-actions (CTAs).
Step 3: Resize and Reformat Across Platforms
If you need the same graphic for multiple channels (e.g., changing an Instagram square post into a Vertical Story):
-
Click the Magic Switch button at the top menu bar.
-
Choose your target dimensions or social media category.
-
Click Continue to automatically transform and re-align your design elements for the new format.
5. Pro Tips for Better Canva AI Results
To get the best possible designs from Canva’s AI tools, keep these strategies in mind:
-
Be Specific with Prompts: Include details like style, color scheme, lighting, mood, and format in your prompts (e.g., “Isometric 3D render of a smartphone, vibrant gradients, clean aesthetic” rather than just “phone”).
-
Maintain Brand Consistency: Save your primary color hex codes, brand fonts, and logos in Canva’s Brand Hub to apply them to AI-generated designs with a single click.
-
Refine Manually: Treat AI outputs as strong starting points. Fine-tune alignments, spacing, font sizes, and contrast manually to achieve a polished, human touch.
Conclusion
Canva AI bridges the gap between creativity and execution. By using Magic Design for quick layouts, Magic Media for custom visuals, and Magic Write for compelling copy, you can produce professional logos, flyers, and social media posts in a fraction of the usual time. Explore these tools today to boost your design output and elevate your visual presence!