
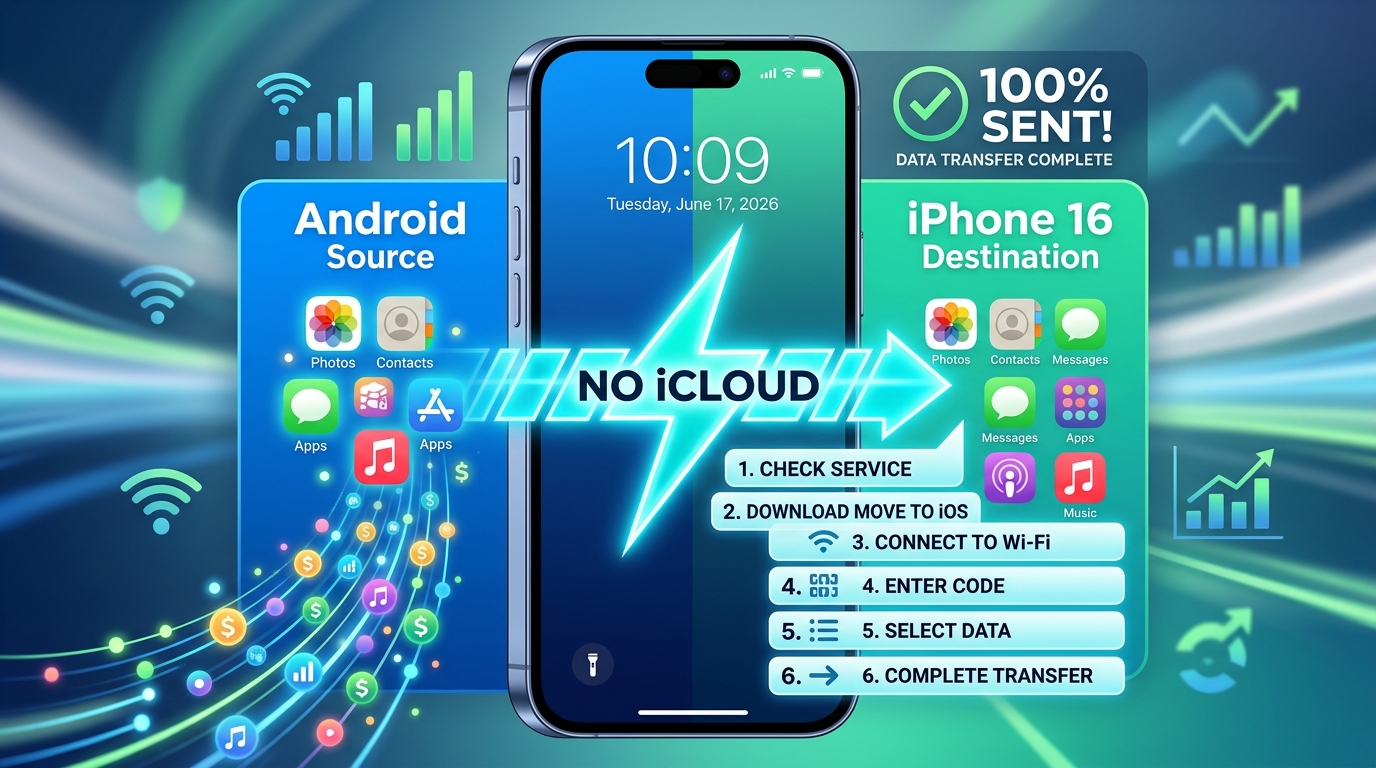
Switching from Android to the new iPhone 16 is an exciting upgrade, but the thought of losing your photos, contacts, and messages can feel overwhelming. Many users assume they must rely on iCloud to bridge the gap between operating systems. The truth? You absolutely do not need to use iCloud—or pay for extra cloud storage—to move your digital life to your new device.
Whether you have privacy concerns or simply prefer local transfers, there are several reliable, efficient ways to migrate your data securely. In this guide, I’ll walk you through the most effective methods I’ve used to move data between platforms, ensuring nothing important gets left behind.
1. The Official Way: Using “Move to iOS” (Best for New Setups)
Apple created the Move to iOS app specifically to solve the “Android-to-iPhone” headache. It is the most comprehensive tool available, transferring contacts, message history, camera photos, videos, web bookmarks, mail accounts, and calendars automatically.
Note: This method works best during the initial setup of your iPhone. If you have already set up your phone, you will need to factory reset it to use this tool.
Step-by-Step Migration
-
Prepare Both Devices: Ensure both phones are charged and connected to Wi-Fi. Download the Move to iOS app from the Google Play Store on your Android device.
-
Start iPhone Setup: Turn on your iPhone 16 and follow the on-screen instructions until you reach the Apps & Data screen.
-
Select Transfer Option: Tap Move Data from Android.
-
Pair Devices: Your iPhone will display a code. Enter this six-digit or ten-digit code into the Move to iOS app on your Android.
-
Choose Your Data: Select the specific categories (Photos, Contacts, etc.) you want to move and tap Continue. Keep both phones plugged into power and side-by-side until the loading bar on the iPhone finishes.
2. Transferring Contacts and Calendars via Google Account
If you don’t need to move photos or app data and just want your contacts and schedule synced, you don’t need a third-party app at all. You can simply leverage your existing Google account. This is the cleanest method if you want to keep your data “live” on both platforms simultaneously.
How to Sync via Settings
-
On Android: Go to Settings > Accounts > Google. Ensure Contacts and Calendar toggles are turned ON.
-
On iPhone: Once your iPhone is set up, go to Settings > Mail > Accounts > Add Account.
-
Log In: Select Google and sign in with the same Gmail account used on your Android.
-
Enable Sync: Toggle the switches for Contacts, Calendars, and Mail to ON. Your data will automatically begin populating in your iPhone’s native apps.
3. Moving Photos and Files Manually (Using a Computer)
If you have a large library of local files—like folders of documents, music, or high-resolution photos—the manual transfer via a computer is often faster and more stable than wireless methods. You act as the bridge between the two file systems.
Transferring Files Using a PC or Mac
-
Connect Android: Plug your Android phone into your computer via USB. Select “File Transfer” mode on your phone’s notification shade.
-
Copy Files: Locate your DCIM (photos), Music, and Documents folders. Copy the files you want to keep to a temporary folder on your computer.
-
Connect iPhone: Disconnect your Android and plug in your iPhone 16.
-
Sync Content:
-
On Windows: Use the Apple Devices app or iTunes. Go to the “Photos” or “Files” tab and select the folders you just copied to sync them to your iPhone.
-
On Mac: Open Finder, select your iPhone in the sidebar, and drag your files into the respective tabs (Music, Books, etc.) to sync them.
-
4. Transferring Specific App Data (WhatsApp, Telegram, etc.)
Many people panic about losing their chat history. Fortunately, modern messaging apps have built-in migration tools that bypass the need for generic cloud backups.
-
WhatsApp: Go to Settings > Chats > Move Chats to iOS on your Android phone. This allows you to transfer your chat history, voice notes, and media securely to your iPhone.
-
Other Apps: Most professional apps (like Microsoft Outlook, Slack, or Spotify) store data on their own servers. Simply log in on your iPhone 16, and your data will appear instantly. If an app stores data locally, check the app’s specific “Export” or “Backup” settings menu.
Common Mistakes to Avoid
Even with the best tools, it’s easy to run into minor hiccups. Here is how I avoid them:
-
Interrupting the Connection: When using “Move to iOS,” do not touch either phone or switch apps. Interrupting the wireless bridge often causes the transfer to fail and restart.
-
Ignoring Storage Space: Before moving files, check your iPhone 16 storage (Settings > General > iPhone Storage). If you have 100GB of photos but only 64GB of space, the transfer will fail.
-
Forgetting to Check for Duplicate Apps: If you download apps from the App Store before the “Move to iOS” transfer finishes, you may create duplicate data or conflicts. It is best to let the tool handle app installations first.
Frequently Asked Questions (FAQs)
Will “Move to iOS” delete my Android data?
No. The app only copies data from your Android to your iPhone. Your original files will remain untouched on your Android device until you choose to format or delete them.
How do I move photos if I don’t have a computer?
You can use third-party file-sharing apps like Send Anywhere or SHAREit, which allow you to transfer large batches of photos over your local Wi-Fi network without using cloud storage.
Can I transfer purchased Android apps to my iPhone?
No. Android apps (Google Play Store) and iOS apps (Apple App Store) are built on different codebases. You will need to re-download the iOS versions of your favorite apps from the Apple App Store.
Is it safe to use third-party transfer software?
While some desktop tools (like Syncios or MobileTrans) offer convenience, always prioritize the official Move to iOS app when possible, as it is vetted by Apple for security and privacy.
By following these steps, you can transition to your iPhone 16 with confidence, knowing your data is exactly where it needs to be—on your phone, not in a confusing cloud account.